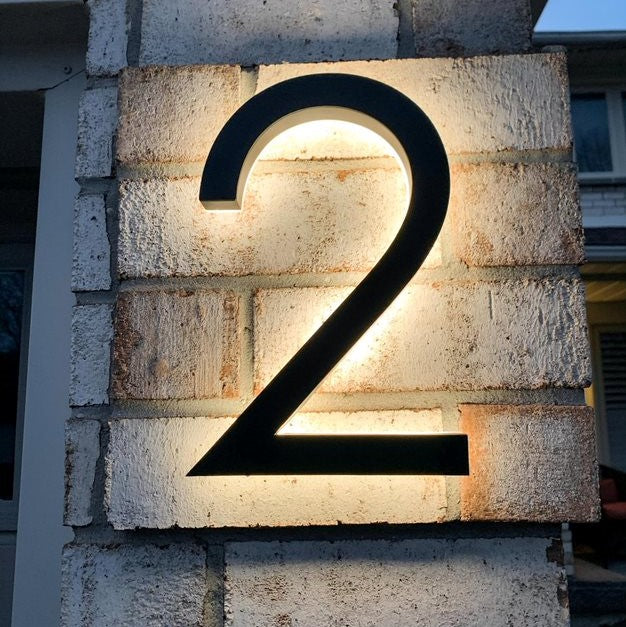
How To Quickly & Easily Install LED House Numbers
Step 1: Preparation
Before you begin the installation, you'll need the House Numbers of your choice and the right tools. (Tape, Level, Drill Gun with ¼” Drill Bit, Caulk)
 Step 2: Insert Screws
Insert Screws into the threaded holes located in the back of the number. *Double check if the screws match up to the pattern before drilling (Next Step)*

Step 3: Attach The Pattern to Wall
Place pattern on the desired location, then use a level to make sure they are perfectly level before beginning. Once the house numbers pattern is levelled and in the right spot, tape the paper to the wall to keep it in place.

Step 4: How to Drill House Numbers into Your Wall
Using a 1/4” Drill Bit, Drill each hole that is indicated on the paper, Including the hole dedicated for the cables.

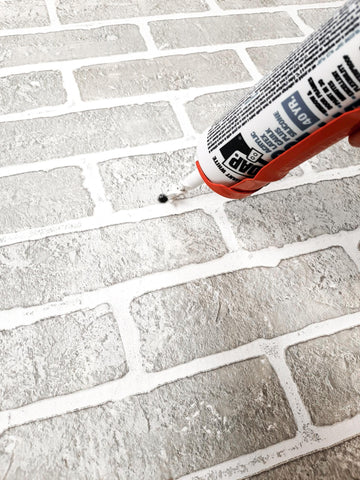
Step 5: Caulk the Drilled Holes
Start to add the caulk in the holes meant for the screws and leave the hole for the wire for now (Align the house number with screws to see which ones need to be filled first).

Step 6: Place House Numbers into Holes and Pull Wires Through
Then place the number with the screws into the holes, but do not put it in all the way. You will now pull the wires through the wall and fill in the hole with caulk.

Step 7: Push to Desired Distance
Then push the numbers to the desired distance from the wall and leave for the caulk and drill to set in place.
Step 8: *IMPORTANT* Connecting To Power Supply

NOTE: Do not connect to the main power supply. Doing so will result in blowing the LEDs. You will need to purchase a power supply. Ask an electrician to help with the main connection to the house.
NOTE: When connecting multiple numbers or letters connect each number together to the power supply +-, then the main power to the power supply.

