A Professional's Guide: How To Easily Install Metal House Numbers
This is a short step-by-step guide to easily install house numbers. This article will walk you through it and by the time you are done reading this article, you will have your house numbers up and looking great.

Step 1: Preparation
Before you begin the installation, you'll need the House Numbers of your choice and the right tools. (Tape, Level, Drill Gun with ¼” Drill Bit, Caulk)

Step 2: Insert Screws
Insert Screws into the threaded holes located in the back of the number.
*Double check if the screws match up to the pattern before drilling (Next Step)*

Step 3: Attach The Pattern to Wall
Place pattern on the desired location, then use a level to make sure they are perfectly level before beginning. Once the house numbers pattern is levelled and in the right spot, tape the paper to the wall to keep in place.

Step 4: How to Drill House Numbers into Your Wall
Using a 1/4” Drill Bit, Drill each hole that is indicated on the paper. Drill an additional hole for the cable to get pulled through.

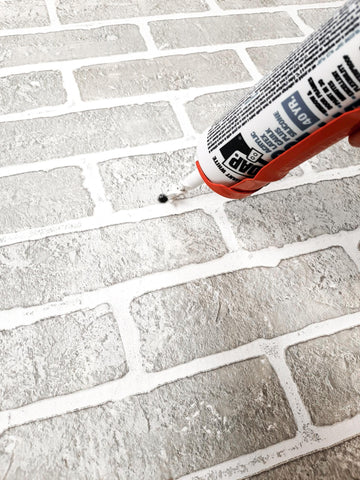
Step 5: Caulk the Drilled Holes
Get the numbers ready to place, then fill in the holes with Caulk.

Step 6: Place House Numbers into Holes
Then place the number with the screws into the holes, but do not put it in all the way. Then push the numbers to the desired distance from the wall.

Step 8: Final Step
As a final step, check to make sure that your numbers are still firmly mounted in place and enjoy!

